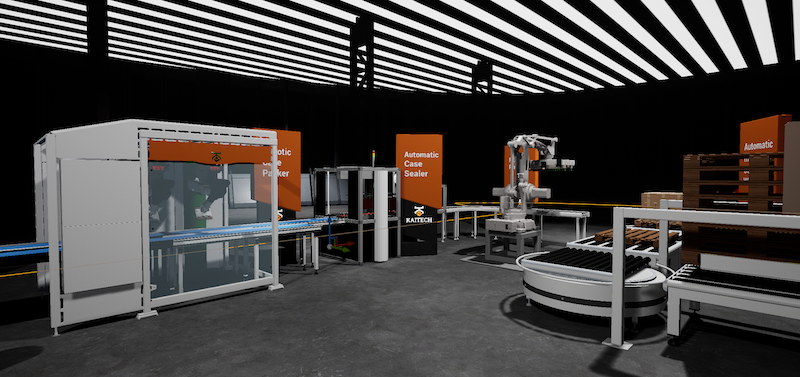
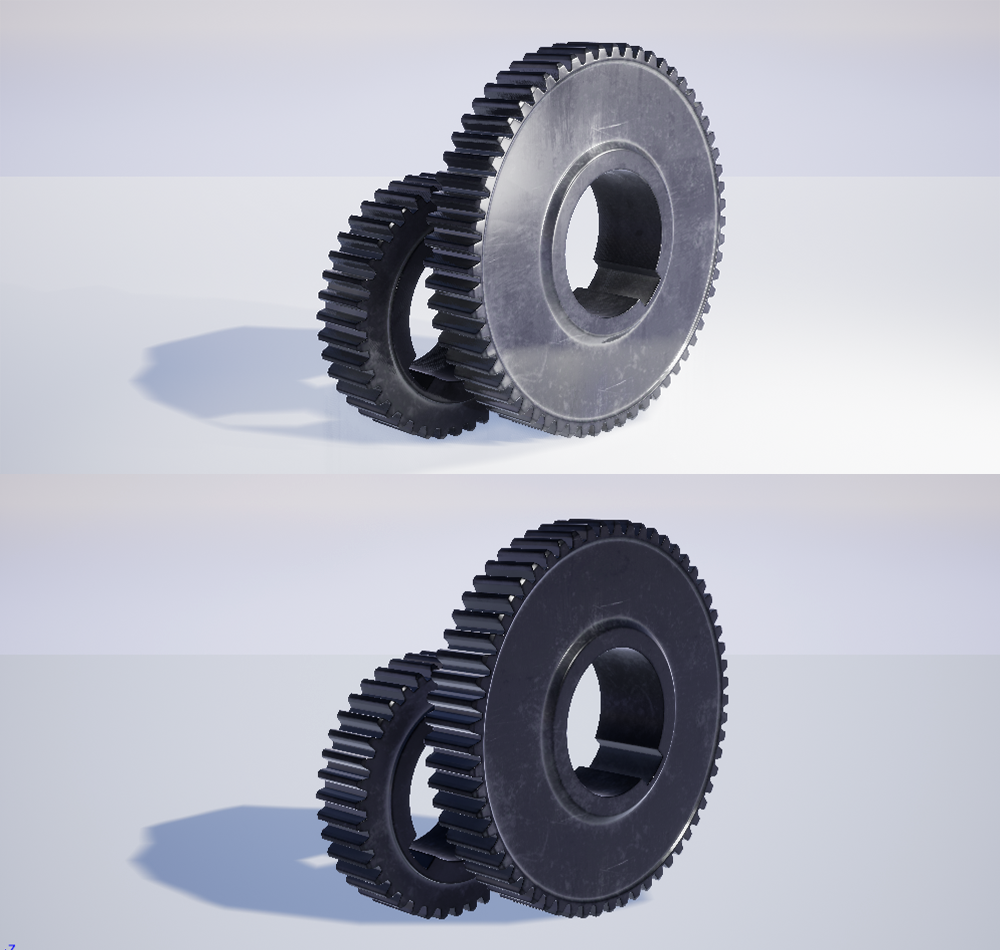
3D creators, or anyone developing visualizations in VR for Oculus Quest, know the importance of ensuring a 3D project is suitable for real-time. This means the project is optimized for performance, having no more than 100,000 polygons in a scene with an FPS of 72, among other requirements.
In our latest project, we created a realistic VR animation of a robot assembly line for a client by re-purposing their CAD files. Based on this experience we’ve rounded up our top three tips when creating an animation for VR in Oculus Quest.
Tip 1: Optimize!
Like any real-time project, optimization is key, and our latest VR Project was no different. CAD models are usually complex because they’re designed for manufacturing. This means that the CAD file contains millions of parts and a lot of other detail such as metadata, and structural and electrical components. In most cases, many of the parts and additional details need to be simplified or completely removed when developing for VR.
We start the optimization process by converting NURBS to polygon mesh, or tessellating the mesh. Next step is deleting parts that aren’t necessary for the visualization – like bolts, screws, inner faces, or anything that wont be visible to camera. Removing internal parts, like electrical components inside your model will significantly reduce the size of your model.
Doing these optimization tasks manually would take us anywhere from a couple of days to weeks – depending on the type and size of the project. To streamline our pipeline, we designed our optimization software, Meshmatic, that automates tasks like deleting non-manifold faces, generating normal and unwrapping UV’s.
Tip 2: Use Maya for a realistic motion simulation
When creating an animation for VR in Oculus Quest, we suggest using Maya. While it may seem more straightforward to import your 3D file into Unity or Unreal Engine and use game engine animation tools, Autodesk Maya offers more tools to help you rig and animate a mesh.
Once your project is in Maya, you can add a skeleton to your mesh to begin your animation. For our project, we were working on animating a robot, and the visualization needed to be as accurate as possible, and the robot’s movement had to be realistic. Using Maya’s Inverse Kinematics (IK) solution, we were able to simulate a 6-axis robotic arm rotation that would have been difficult to do if we would have animated it manually. The IK controls all the joint chains, letting the user focus on when the robot will move in their animation, and not on the mechanical accuracy of each joint rotation.
Tip 3: Use mobile lighting for a better frame rate
As mentioned earlier, the Oculus Quest isn’t tethered to a PC, so its processing power is similar to that of a mobile phone. For this reason, we suggest using mobile lighting in your animation. Mobile lighting requires UV unwrapping to bake stationary lights and shadows – so make sure you don’t forget to unwrap your UV’s.
We hope the tips we covered in this post are helpful the next time your working on your own VR animation for Oculus Quest! Test out Meshmatic with a free 7-day trial.


